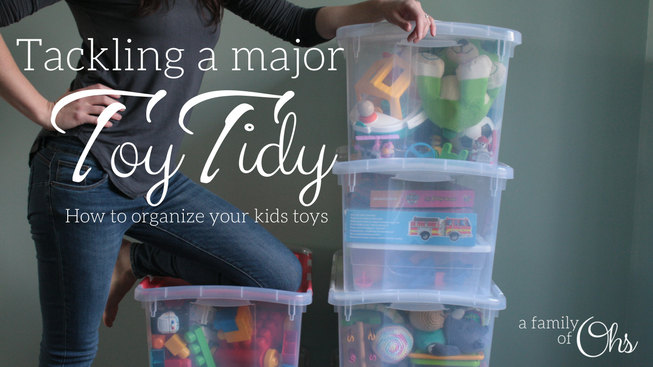
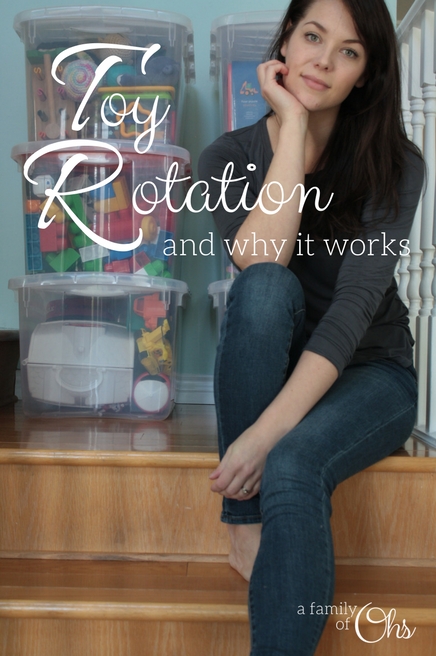
How to start a Toy Tidy rotation, and why it works
I am the kind of person who doesn’t just like organization – I thrive off of it. I love the satisfaction I feel when the job is complete. It makes me so happy to have everything organized in boxes and bins – I must take after my mother! (Thanks Mom!)
I like everything to have a home in my home. I find that with better organization comes more fluidity through my day, and thus less stress. Win/Win!
When we moved into our new house back in 2016 I felt overwhelmed, unpacking box after box of my sons toys. As I looked at the plastic chaos I was slowly drowning in every day, I knew my son still loved all this toys, but I didn’t have the time or energy to clean them up each night. The toys were piling up and I knew I had to take back my organized house.
This post is not sponsored, but contains affiliate links to the products I use available on Amazon.
One year in and it’s still working
One day, back in the fall of 2016, I had had enough of the chaos. So I picked up some Sterilite boxes from Walmart for $8.00 each, divided all our toys, and started a toy rotation. I could feel my sanity coming back to me that very first day!
In this blog post I am sharing my process on how I organize the toys in our house to make an easy and functioning toy rotation. I would also highly recommend your children not be present at the time (if possible). It’s amazing how they will have a sudden attachment to every toy and want to play with them. You can also see my comment in step 3 about child involvement.
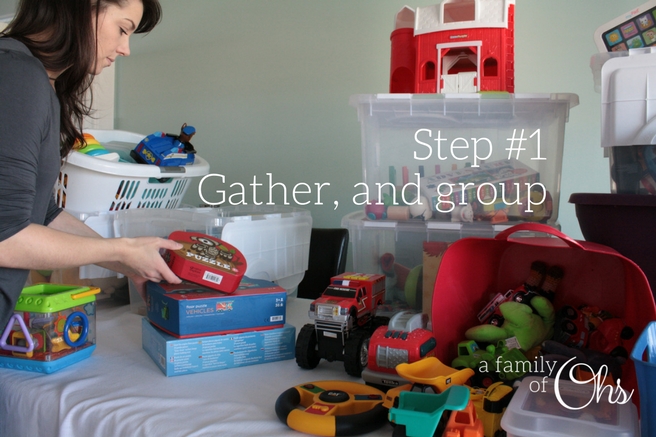
Step 1: Gather, and group
First things first, gather every toy in the house and make sure you have all the pieces. Use the floor, or a large dinning room table. Basically any large area where you can have all toys in one spot. Group all the puzzles together, the cars, action figures, dolls, the animals, the play electronics (remotes, fakes phones, etc.) and the toys that are broken or missing pieces.
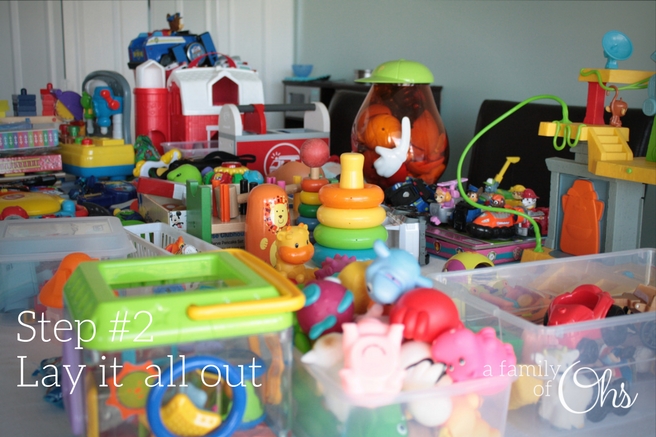
Step 2: Lay it all out
Lay everything out in their groups and have a good look at your bounty. Ask yourself:
- does my child still play with this?
- is this too young for my child?
- does my child have too many/much of this?
Also ask yourself:
- what is my child lacking?
- what should I add to further develop proper growth, development and imagination
*I will note that I like to do this a month or two before Christmas so I can know what my children already have, and what they might need. It makes writing Christmas wish lists a little bit easier!
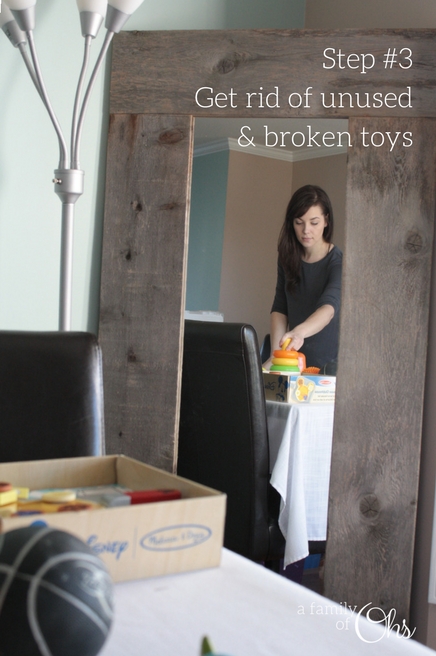
Step 3: Get rid of unused and broken toys
Time to purge. Now that all your toys are in view, start picking out the toys that are never used, unloved, or broken. Either box these toys up for a future garage sale, sell them in an online bidding war, or drop them off at a local thrift store.
If your child is old enough to understand that some children don’t have many, if any toys, then get them involved. You can use this time to educate you child about passing on, and blessing another child. Let your child decided what toys to let go of. Take your unused toys to a donation centre, or better yet, if they know of someone they might personally want to pass a toy onto you could encourage that as well.
Set aside toys that are broken or recalled and could pose a safety hazard and take them to the dump. You should check your local recall listing, here are the American and Canadian links for recalls.
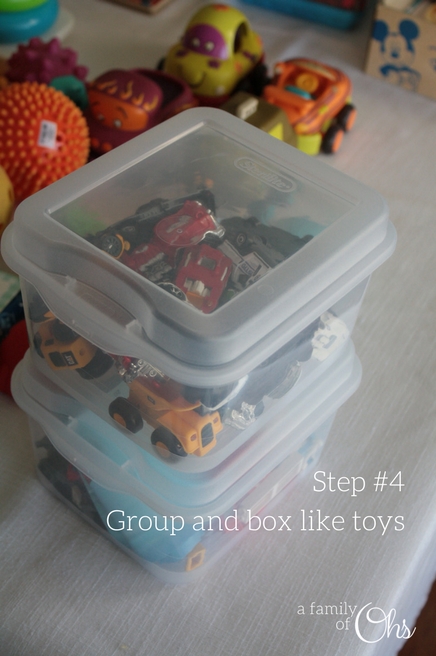
Step 4: Group and box like toys
Put all the pieces of smaller toys into their own boxes. Like cars, LEGOs, action figures, play food, or doll clothes. I really like Sterilie’s CD boxes for boxing up smaller pieces.
Shop American Sterilite small flip top.
Shop Canadian Sterilite small flip top.
These bins are sturdy, and with a flip lid, there is no worrying about losing the lid. They do offer different sizes of this design.

Step 5: Distribute big toys
Now that all the toys you want to keep are still laid out in front of you, grab some big bins and start distributing the toys.
I use 5 Sterilite hinged lid boxes so we have one box for each week over a 5 week period. I also have 2 more hinged lid boxes for our Mega Bloks
, and train set.
Start by picking a big toy for each box. As seen in the picture above, our Little People Animal Farm and Paw Patrol Temple Playset
are in two separate boxes. Don’t forget to add all the pieces that go with the toy as well!
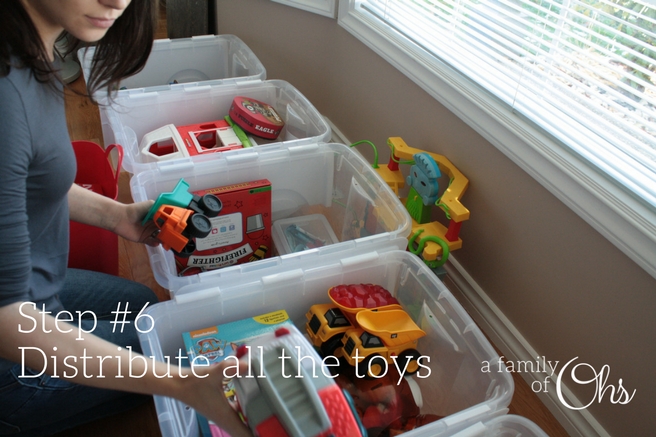
Step 6: Distribute all the toys
Now go through all the groups of toys you have laid out and distribute all your like/similar items. For example, if you have 5 different puzzles, then each toy box should have one puzzle. I divide up all toys that play music, have wheels, or involve some sort of building like LEGO or Mr. Potato Head.
That being said, I have done themed boxes in the past where I have put things like all the construction items in one box. But I have found more success distributing everything a little more evenly.
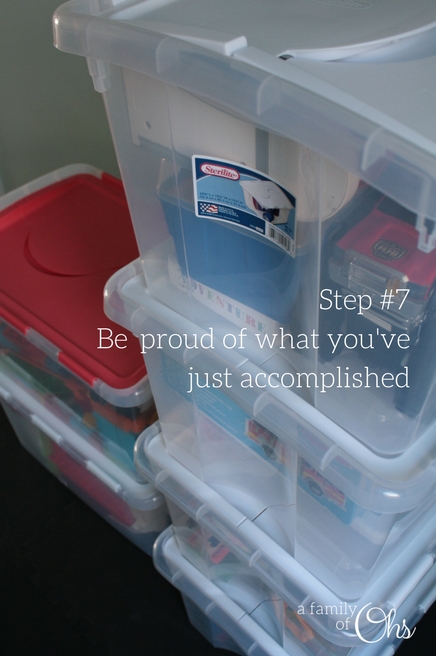
Step 7: Be proud of what you’ve just accomplished
Doing a full toy overhaul and toy tidy usually takes the better part of a day, especially if it’s the first time. So when everything is boxed up, make sure to give yourself a pat on the back because you are almost done!
Now all you need to do is find a spot to store all the boxes, preferably out of sight so your kids aren’t begging you to pull out more boxes or different toys. We store ours in the guest room closet. But the garage or and easily accessible crawl space could work too. Keep in mind you’ll be switching the toy boxes out weekly, or bi-weekly, so they should be accessible.
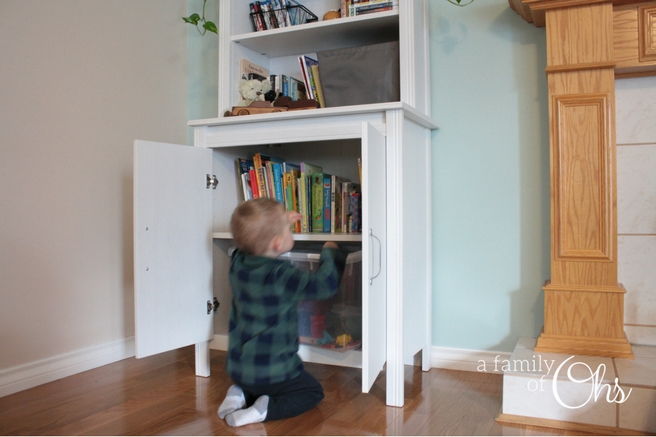
We keep our bin in a cupboard in the living room, along with some books. The bins fit inside perfectly, and with the cupboard doors closed, you wouldn’t even know it’s a kids cupboard.

So does it really work?
Yes! Like I said at the beginning of this post, I have been doing this for over a year now and I am so thankful I started it. I will redistribute the toys and mix things up 2-3 times per year.
Small children have the amazing ability to create a monstrous mess. Now it only takes less than 5 minuets to clean up the disaster. Although I haven’t decided if it’s slower or faster with my son’s help.
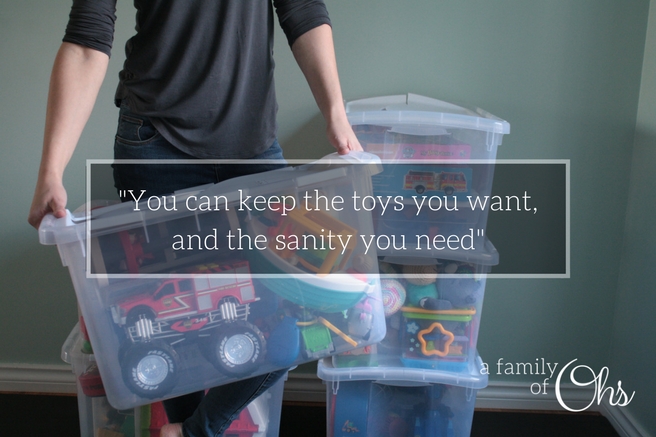
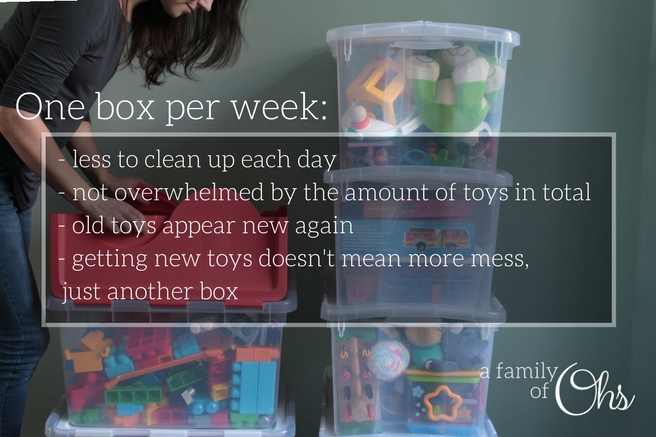
With only one box of toys a week:
- less toys = less mess, so there is less to clean up at the end of each day
- sometimes having too many toys can be overwhelming and distract your child from their own imgination
- depending on how many boxes you fill with their toys, some toys won’t be seen for 4-5 weeks. This makes them seem like new toys again and their excitement to play with them becomes anew
- having birthdays, or celebrating holidays like Christmas doesn’t have to mean there will be more toy mess. You might just have to pick up another box to add to the rotation
Got any fun tips to share about organizing your children’s toys? Any strategies that have worked? Or even failed? Feel free to share your experiences in the comment section below.
Happy organizing!
I love this! Glad to know I’m doing it a similar way. the only thing that drives me crazy is toys that have multiple parts. A ring stacker never has all its pieces. One ring in each room. Or magnetic shapes get strung all over the house! How does that even happen? LEGOs never stay as a group and even after I do toy rotation I am still finding legos in randoms spots for months!